
Safety Precautions andSymbols
Safety Precautions and Symbols
Read all instructions before using the Kenmore gas stove. Warning: Incorrect usage may cause fire or explosion. Pay attention to safety symbols and follow guidelines strictly.
Ensure proper ventilation and avoid flammable materials nearby. Only qualified personnel should install or maintain the appliance to prevent hazards. Always adhere to safety precautions.
1.1 Important Safety Symbols
The manual uses safety symbols like a warning triangle with an exclamation mark, indicating potential hazards. A circle with a line through it signifies prohibited actions, such as using flammable materials nearby. These symbols are industry standards, ensuring safe operation and compliance with regulations.
Ignoring these symbols may lead to fire or explosion risks. Always recognize and follow their instructions to prevent accidents and ensure proper usage of your Kenmore gas stove.
1.2 Fire and Explosion Risks
Improper use of the Kenmore gas stove can lead to fire or explosion hazards. Ensure proper ventilation and avoid flammable materials nearby. Never operate the stove with damaged or loose connections. Follow all safety guidelines to minimize risks and prevent potential accidents.
If the manual instructions are not followed exactly, a fire or explosion may occur, causing property damage or personal injury. Always maintain a safe environment while cooking to avoid such dangers.
1.3 General Safety Guidelines
Always read and understand the safety symbols and instructions before using the Kenmore gas stove. Ensure proper ventilation to prevent gas accumulation and avoid placing flammable materials nearby. Never allow unauthorized individuals to install or maintain the appliance, as this can lead to potential hazards.
Follow all safety guidelines strictly to ensure safe operation. Keep children away from the stove while cooking. Regularly inspect burner caps and igniter electrodes for damage or blockages to maintain optimal performance and safety.
Installation Requirements
Ensure the Kenmore gas stove is installed by qualified personnel. Locate the model and serial number on the identification plate for proper installation. Keep the area clear of flammable materials during setup.
2.1 Location and Clearance
Ensure proper location and clearance for the Kenmore gas stove. Place it on a level, heat-resistant surface, away from flammable materials. Maintain at least 4 inches clearance from walls and 6 inches from non-combustible surfaces. For combustible surfaces, ensure 12 inches clearance. Proper ventilation is essential for safe operation.
2.2 Gas Supply Connections
Ensure the Kenmore gas stove is connected to a suitable gas supply. Use only approved gas lines and fittings. The installation must comply with local codes and regulations. A qualified technician should perform the connection to ensure safety and prevent gas leaks. Proper connection is critical to avoid hazards and ensure efficient operation.
2.3 Ventilation Recommendations
Proper ventilation is essential for safe operation of the Kenmore gas stove. Ensure the kitchen is well-ventilated to remove combustion by-products. Install a vent hood or exhaust fan to maintain air quality. Adequate ventilation prevents moisture buildup and reduces the risk of carbon monoxide accumulation. Always follow local installation codes for optimal safety.

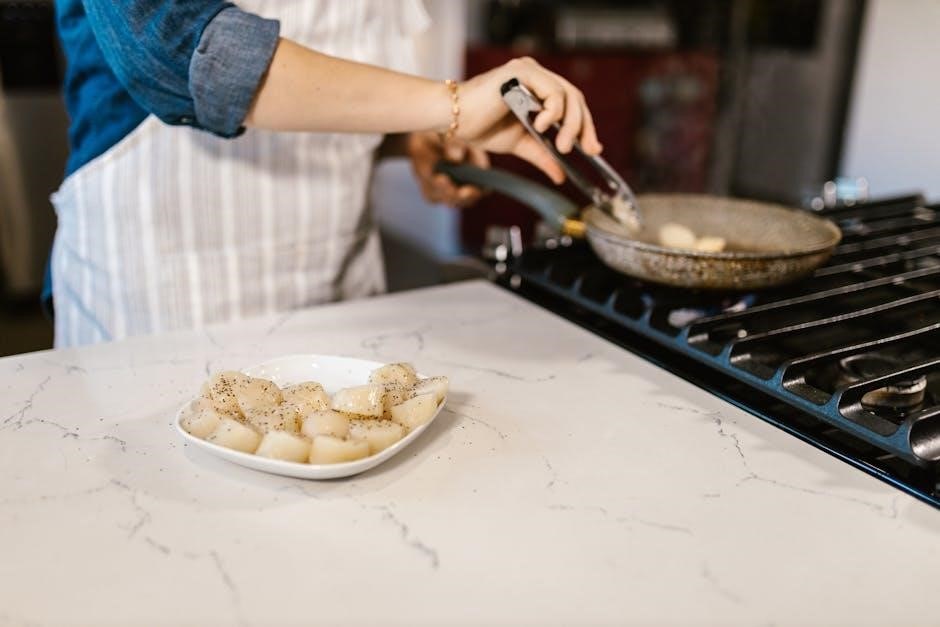
Operating the Gas Burners
Ensure the burner and cookware are clean before use. Place cookware on the grate and operate the burner using the control knob. Always follow safety guidelines for proper operation.
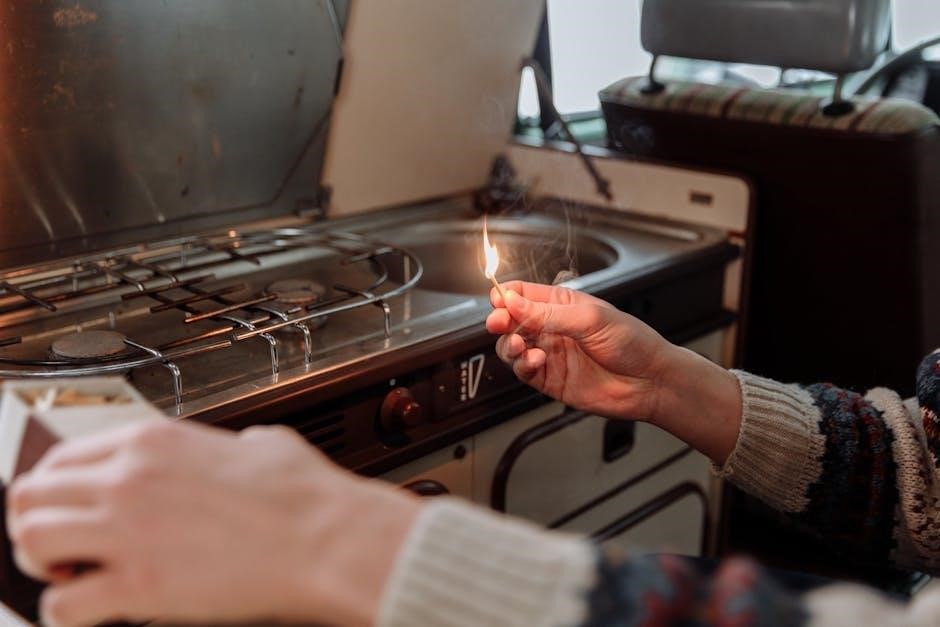
3;1 Lighting the Burners
Place the cooking utensil on the burner grate. Push the control knob in and turn counterclockwise to release gas. Use a match or igniter to light the burner. Ensure the flame is steady and adjust as needed. Always keep the area clear of flammable materials and ensure proper ventilation.
3.2 Adjusting Flame Height
To adjust the flame height, turn the burner control knob counterclockwise to increase the flame and clockwise to decrease it. Ensure the flame is steady and blue, indicating proper combustion. Always maintain a safe distance from flammable materials and ensure good ventilation while cooking. Proper adjustment ensures efficient cooking and safety. Never leave the stove unattended while the burners are in use.
3.4 Burner Maintenance Tips
Regularly clean burner caps and ports to ensure proper gas flow and ignition. Use a soft brush or toothbrush to remove food residue and debris. Avoid using abrasive cleaners that may damage the finish. Inspect burners for blockages and ensure they are dry before use. Replace worn-out burner caps promptly to maintain efficiency and safety.
Using the Oven
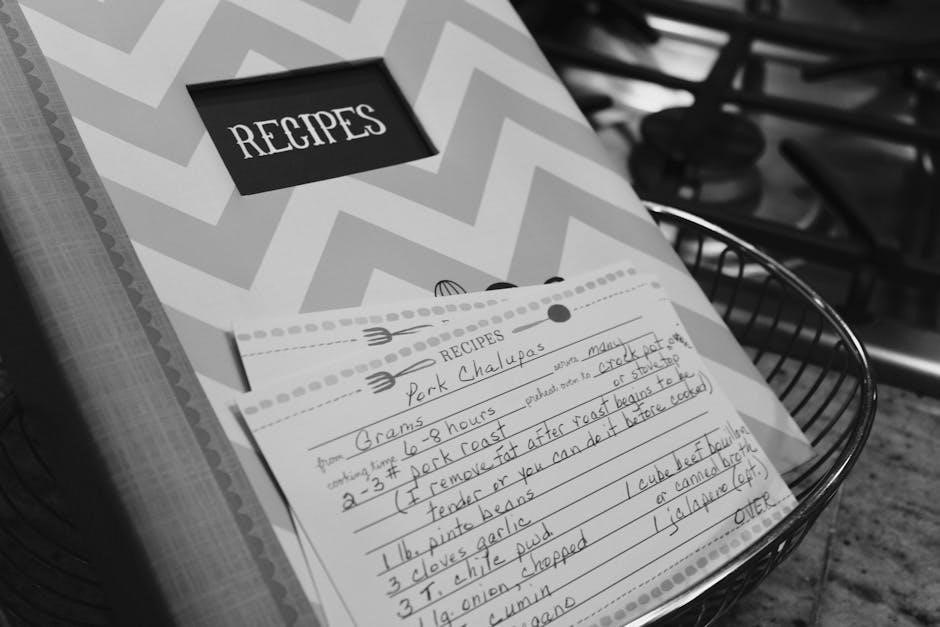
Preheat the oven to the desired temperature before cooking. Use the timer for accurate cooking durations. Ensure the oven is empty during preheating. Always follow recipe guidelines for safe operation.
4.1 Preheating Instructions
Read the manual carefully before preheating. Press the bake button, select the desired temperature using the control knob, and set the timer. Allow the oven to reach the set temperature before placing food inside. Ensure the oven is empty during preheating. Refer to the manual for specific temperature guidelines and safety tips.
4.2 Setting the Timer
Press the timer button, then use the control knob to select the desired cooking time in minutes. Press “Start” to begin the countdown. Ensure the timer is set correctly before leaving the oven unattended. The timer will alert you with a sound when the cooking time is complete. Always monitor the timer to avoid overcooking.
4.3 Safe Oven Operation
Always preheat the oven with racks in their correct positions. Use oven mitts to handle hot cookware. Avoid placing flammable materials near the oven. Never leave the oven unattended during operation. Ensure the oven door is closed properly to maintain even heating. Follow recommended cooking times and temperatures for safe results.
Cleaning and Maintenance
Regularly clean burners, drip pans, and oven surfaces to prevent food residue buildup. Use mild detergents and avoid abrasive materials. Maintain the exterior with a damp cloth. Ensure all parts are cool before cleaning for safety and effectiveness.
5.1 Cleaning the Burners
Remove burner caps and grates, soaking them in warm soapy water. Scrub with a soft brush to eliminate food residue. Rinse thoroughly and dry before reinstalling. For tough stains, mix baking soda and water to create a paste, applying it to the burners and letting it sit before wiping clean. Regular cleaning prevents clogs and ensures proper flame distribution.
5.2 Oven Cleaning Tips
Turn off the oven and let it cool completely before cleaning. Wipe spills with a damp cloth to prevent hardening. For tougher stains, use a mixture of baking soda and water or a commercial oven cleaner. Avoid abrasive cleaners that may damage surfaces. For self-cleaning models, set the feature at 400°F (200°C) for 4-6 hours. Always follow manufacturer guidelines for safe and effective cleaning.
5.3 Exterior Maintenance
Regularly clean the exterior using a soft, damp cloth to remove grease and spills. Avoid harsh chemicals or abrasive cleaners that may scratch surfaces. For stainless steel or enamel finishes, use a microfiber cloth and mild soap. Dry thoroughly to prevent water spots. Clean knobs and handles with a gentle detergent solution.
Troubleshooting Common Issues
Check burner ignition, gas supply, and error codes. Refer to the manual for solutions or contact customer support for professional assistance with unresolved issues.
6.1 Gas Burner Problems
Identify issues like uneven flames, ignition failure, or gas leaks. Check if burner caps are properly seated and ensure the gas supply is open. Clean burner ports if clogged.
Refer to the manual for troubleshooting steps or contact Kenmore support for professional assistance with persistent burner malfunctions or safety concerns.
6.2 Oven Malfunction Solutions
Address oven issues like uneven heating or temperature inaccuracies by recalibrating the thermostat. Check for faulty heating elements or sensors and ensure proper ventilation. Reset the oven or consult the manual for specific error codes and solutions.
If problems persist, contact Kenmore customer support for professional assistance or refer to the troubleshooting guide for detailed repair instructions and safety guidelines.
6.4 Error Codes and Solutions
Common error codes like E01 or E02 indicate issues with temperature sensors or heating elements. Refer to the manual for specific code meanings. Reset the oven by turning it off and on, or check connections to ensure proper function.
If codes persist, consult the troubleshooting guide or contact Kenmore support for professional assistance to resolve the issue safely and effectively.
Control Panel Overview
The control panel features electronic controls for the oven and burner knobs. Use the timer, clock, and temperature settings to manage cooking functions efficiently and safely;
7.1 Understanding Knob Functions
The burner knobs control gas flow and ignition. Turn counterclockwise to light burners; adjust for flame size. The electronic controls manage oven temperature and timer settings. Ensure knobs are in the “off” position when not in use for safety and energy efficiency. Refer to the panel for specific knob assignments and functions.
7.2 Electronic Controls
Electronic controls on the Kenmore gas stove manage cooking settings and timing. Use the touchscreen or buttons to set oven temperature, timer, and cooking modes. The digital display shows real-time updates. Ensure settings are correct before starting. These controls enhance precision and efficiency for optimal cooking results. Refer to the manual for specific functions.

7.3 Timer and Clock Settings
To set the timer, press the timer button and use the +/- controls to select the desired cooking time. The display will show the countdown. For clock settings, press and hold the clock button until the display flashes, then adjust using the control knobs. Ensure the time is set in 12-hour format (AM/PM). Refer to the manual for detailed instructions.
Always verify the clock is correctly set before using the timer function. This ensures accurate cooking times and proper oven operation. If the clock loses power, reset it when electricity is restored for continued functionality.
Accessing and Replacing Parts
To access parts, shut off the gas and electricity. Use a screwdriver to remove burner caps and grates. Refer to the manual for exploded diagrams and replacement instructions.
Always disconnect power before attempting repairs. Use genuine Kenmore parts for replacements. If unsure, contact a certified technician for assistance.
8.1 Removing Burner Caps
To remove burner caps, ensure the stove is cool. Lift the caps gently, twisting slightly if needed. Clean any debris from the caps and burner heads. Refer to the manual for detailed diagrams and cleaning instructions to maintain optimal performance and safety.
After cleaning, align the caps properly to ensure a secure fit. This helps maintain even flame distribution and prevents damage to the burner assembly. Always follow the manufacturer’s guidelines for replacement and maintenance.
8.2 Replacing Igniter Electrodes
Disconnect gas and power supply before replacing igniter electrodes. Locate the electrode near the burner base. Use an adjustable wrench to remove the old electrode by twisting gently. Install the new electrode, ensuring it aligns correctly with the burner cap. Tighten securely and restore gas and power supply.
Test the igniter by lighting the burner to ensure proper function. Refer to the manual for specific torque settings and safety guidelines to avoid damage or malfunction.
8.3 Accessing the Oven Heating Element

Ensure the stove is cool and unplugged before accessing the oven heating element. Remove racks and shelves for better access. Take out the bottom panel or drawer. Use a screwdriver to remove screws or clips securing the heating element. Gently pull the element forward, disconnecting electrical connections. Reassemble in reverse order after inspection or replacement.
Always test the heating element after reassembling to ensure proper function. Refer to the manual for specific instructions to avoid damage or electrical hazards.
Warranty and Support Information
Kenmore gas stove warranty details are outlined in the manual. Contact customer support for inquiries. Sears Parts Direct offers genuine parts and resources. Register online for extended support.
9.1 Warranty Coverage Details
The Kenmore gas stove warranty details are provided in the manual. Sears Parts Direct offers genuine parts and resources. Warranty coverage varies by model, with specific terms outlined in the document. Ensure to register your appliance online for extended support and maintain eligibility for repairs.
9.2 Contacting Customer Support
For assistance, visit the official Sears website or contact customer support directly. Provide your model number for accurate help. Online resources, including manuals and parts diagrams, are available for troubleshooting and repair guidance. Sears Parts Direct offers reliable support for Kenmore gas stove maintenance and repair needs.
9.3 Online Resources
Access Kenmore gas stove manuals, troubleshooting guides, and FAQs through Sears Parts Direct. Download PDF manuals for specific models, or explore the extensive online library for repair and maintenance tips. Utilize the search bar to find resources quickly, ensuring you have all the information needed for optimal appliance performance.
Energy Efficiency Tips
Optimize gas usage by adjusting flame size according to cooking needs. Use appropriate cookware sizes to minimize heat loss. Avoid unnecessary preheating to reduce energy consumption effectively.
10.1 Optimizing Gas Usage
Use the correct burner size for your cookware to minimize gas waste. Adjust flame height to match the cooking task. Avoid excessive preheating and keep lids on pots to retain heat, reducing overall gas consumption while cooking efficiently.
10.2 Reducing Energy Consumption
Use lids on pots and pans to retain heat, reducing cooking time. Turn off burners immediately after cooking. Avoid using high flames when lower settings suffice. Regularly clean burners to ensure efficient combustion. Proper ventilation reduces excess gas usage, optimizing energy efficiency while maintaining safety.
10.3 Eco-Friendly Cooking Practices
Use energy-efficient cookware like cast iron or stainless steel for better heat retention. Cover pots during cooking to minimize heat loss. Choose burner sizes that match pot dimensions to avoid excess gas use. Plan meals to optimize cooking sequences, reducing overall energy consumption. Regular maintenance ensures optimal stove performance and eco-friendly operation.

Advanced Features
Explore advanced features like convection cooking for even heating, delay start for timed baking, and smart integration for app-controlled cooking. These enhance efficiency and cooking precision.
11.1 Convection Cooking
Convection cooking uses circulating hot air for even heating and faster cooking times. It enhances browning and crisping, making it ideal for roasting and baking. Preheat the oven, select the convection mode, and adjust temperature and time as recommended in the manual for optimal results. This feature ensures consistent cooking outcomes.
11.2 Delay Start Function
The delay start function allows you to schedule oven cooking in advance. Set the timer and select the function via the control panel. This feature ensures your dish starts cooking at the desired time, offering convenience and hands-free meal preparation. Refer to the manual for specific button combinations and settings.
11.3 Smart Integration
The Kenmore gas stove offers smart integration features, allowing seamless connectivity with smart home devices. Use voice commands through Alexa or Google Assistant for hands-free control. The stove can be monitored and controlled remotely via a dedicated app, ensuring convenient meal preparation and enhanced cooking efficiency.
Smart integration also enables real-time notifications, timer management, and synchronization with other smart appliances, creating a modern and connected kitchen experience. Refer to the manual for detailed setup instructions and compatibility requirements.
12.2 Final Safety Reminders
This concludes the Kenmore gas stove manual. Always follow safety guidelines for optimal performance and safe operation. Refer back for any further assistance and happy cooking!